Why Rgbcw LED Strip Lights Are Popular in 2025
Lighting has always played a central role in how we experience our homes. Decades ago, most households relied on a single ceiling light to brighten the entire room. What began with kerosene lamps eventually evolved into tungsten bulbs, offering more convenience but still leaving many spaces dim and uninspiring. As people sought more comfort and atmosphere, a single bulb was no longer enough. This shift gave rise to multi-layered lighting designs—from no-main-light layouts to the use of multiple fixtures in different corners of the home.

Today, homeowners recognize that lighting does more than illuminate a space—it creates mood, warmth, and even a sense of style. The transition to multiple light sources has not only enhanced the ambience of modern interiors but also laid the foundation for the era of smart home lighting, where technology and design meet to transform everyday living.
Step-by-Step Installation Guide
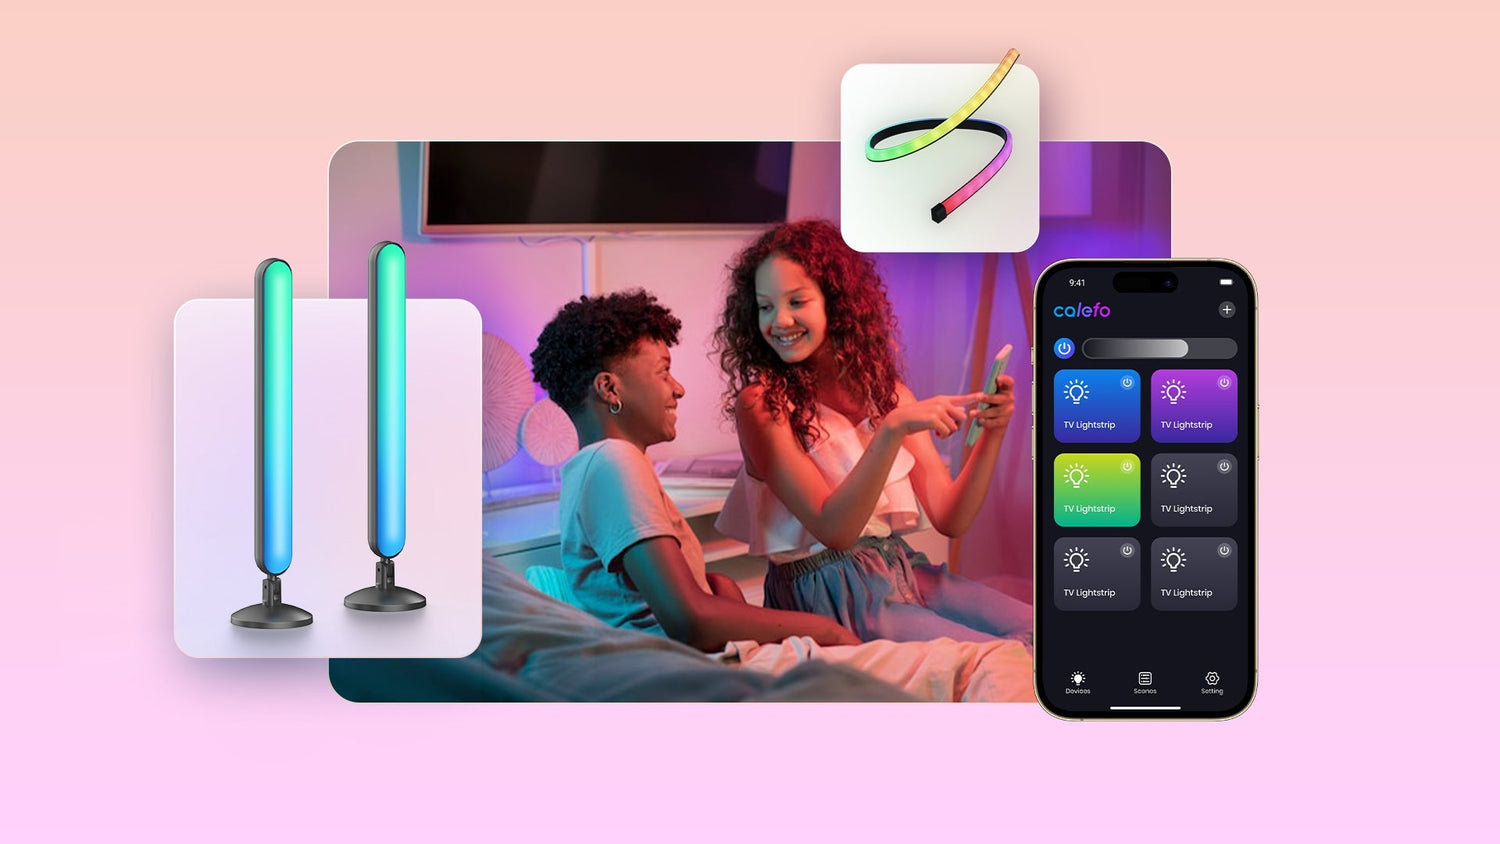
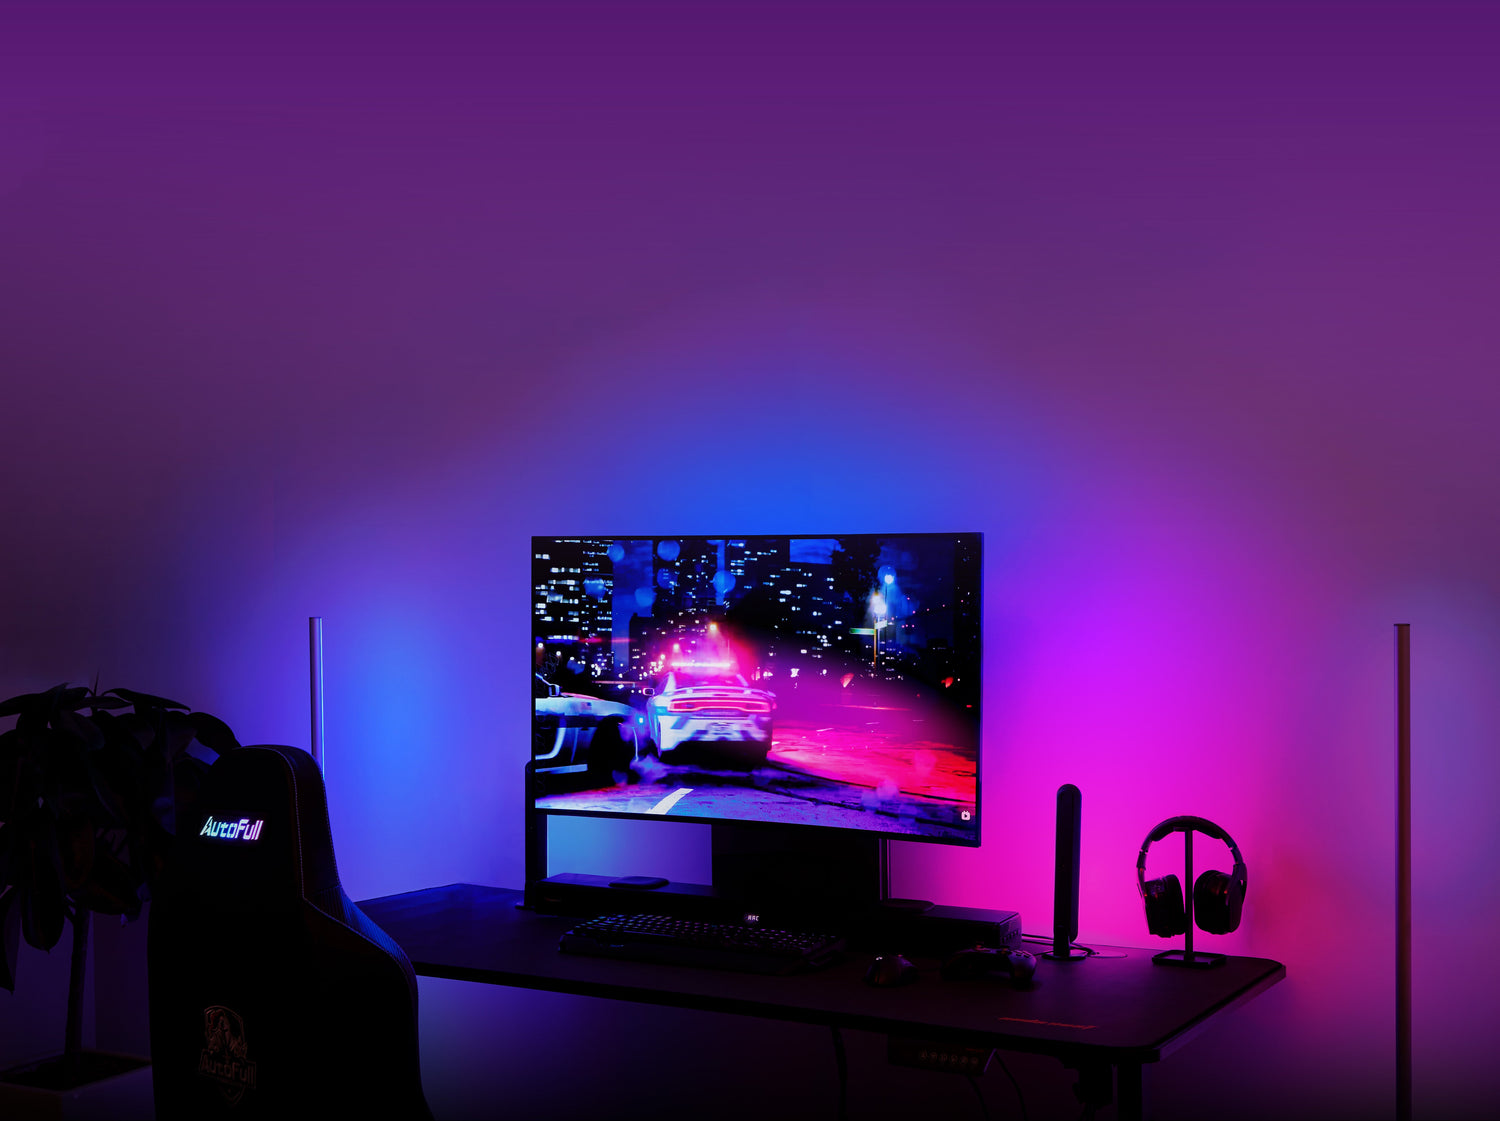
We're bringing you two smart strip lights that instantly level-up the vibe of the spaces you use most—your desk and your living room: the Calefo Smart PC Strip and the Calefo Smart TV Strip.
Lots of people still hesitate, worried that installing LED strips is a headache. So, in this post we’re going to show you, in a few dead-simple steps, exactly how to mount both the Calefo Smart PC Strip and the Calefo Smart TV Strip—and how to unlock every feature they’ve got.
Measure & Plan Your Setup
Select and measure the cabinet, computer monitor, or TV where you plan to install the light strip.
Clean the Surface for Adhesion
Use a damp cloth to carefully clean the surface of the cabinet/computer monitor/TV so that the strip light's mounting brackets can be firmly adhered to the surface.

Cutting LED Strips at the Marked Points
Calefo RGBCW Smart Lightstrip do not come with mounting brackets; you will need to cut and attach the strip light according to the cut line.

Connecting & Securing the Strips
After you've cut your strip light to measured length, you'll need to string them together using connecting wire.
Common LED strip installation mistakes
1. Make sure to cut every 25 cm along the black cut lines.
2. To ensure a secure connection, ensure the ends of each light strip are properly aligned with the connector pins before securing the strips together.
3. After connecting the light strips, gently press the power button to ensure electrical contact with each strip.
4. After connecting the light strips, use strong tape or mounting clips to secure them to the desired surface to prevent them from sagging or falling apart over time.
Why Calefo Strips Make It Easier
Calefo rgbcw LED light strips are waterproof led strip lights,designed with user convenience in mind, featuring flexible materials that allow for easy bending around corners and irregular surfaces. Their plug-and-play connectors simplify installation, reducing the need for complicated wiring or specialized tools. Additionally, Calefo strips often come with remote controls or app compatibility, making it effortless to adjust brightness and color settings to suit any mood or occasion.
Can you cut led strip lights?